The dental implant process involves several key steps: an initial consultation, implant placement, healing and bone integration, and finally, attaching the custom crown — all designed to permanently restore missing teeth.
While it takes a few months to complete, dental implants offer a long-lasting, natural-looking solution that functions just like real teeth.
Understanding each stage helps you feel more confident and prepared for the journey to a restored smile.
Quick Summary
- Dental implants permanently replace missing teeth and function like natural teeth.
- Process Overview:
- Consultation & Evaluation: Exam, medical/dental history review, imaging to assess jawbone.
- Treatment Planning: Personalized plan, possible bone grafting, pre-surgical prep.
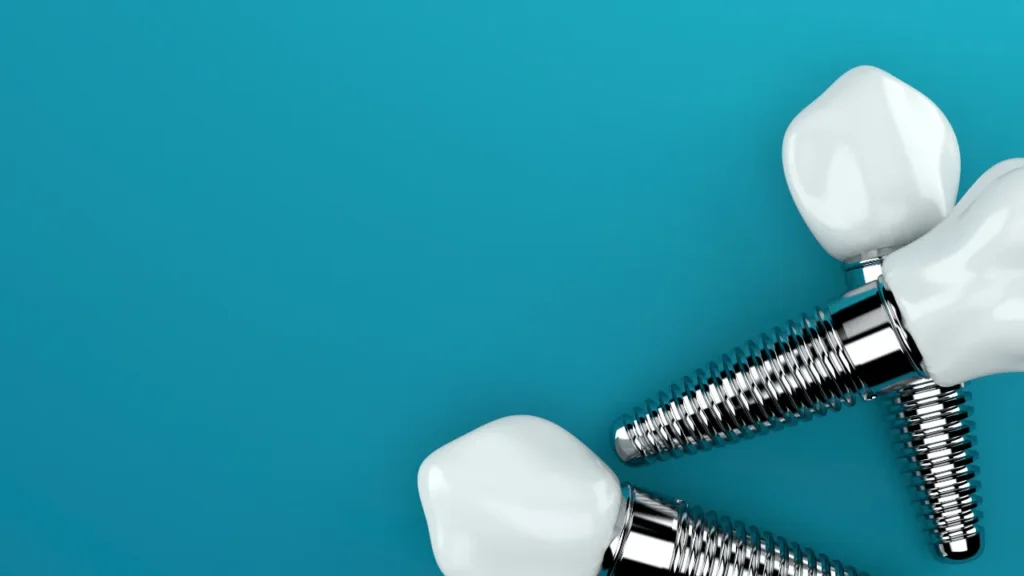
- Implant Placement Surgery: Titanium post inserted into jawbone; gums sutured.
- Healing & Osseointegration: Jawbone fuses with implant over several months.
- Abutment Placement: Connector attached to implant; gums adjusted if needed.
- Final Crown Restoration: Custom crown made and attached to abutment for natural look.
- Post-Operative Care: Regular check-ups, good oral hygiene, lifestyle adjustments to ensure longevity.
- Implants offer a long-lasting, natural-looking solution with careful planning and maintenance.
1. Consultation and Evaluation
- Initial Consultation: Your journey begins with a comprehensive dental exam at Every Smile Dentistry. During this visit, your dentist will review your medical and dental history and discuss your expectations.
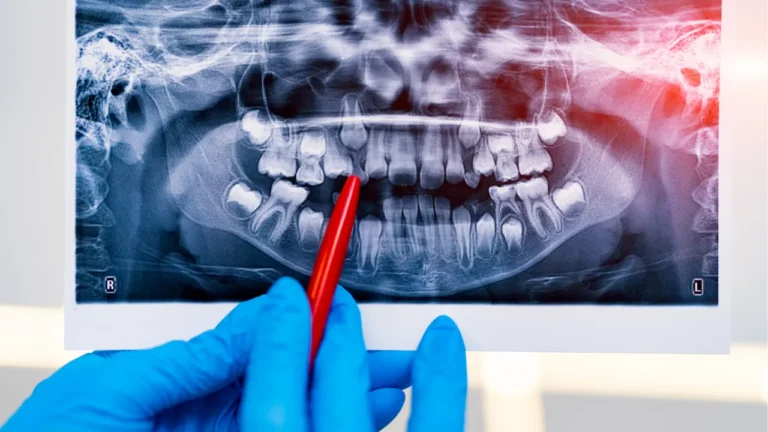
- Imaging and Assessment: X-rays or 3D CT scans are taken to assess your jawbone’s structure and ensure there’s enough bone density to support an implant.
2. Treatment Planning and Preparation
- Personalized Treatment Plan: Based on your evaluation, your dentist will create a tailored treatment plan. This plan may include additional procedures, such as bone grafting, if there isn’t sufficient bone to anchor the implant.
- Pre-Surgical Preparation: Before the procedure, you may be advised to complete a professional cleaning or address any existing dental issues to ensure optimal conditions for the implant.
3. Implant Placement Surgery
- Surgical Procedure: Under local anesthesia, your dentist will make a small incision in your gum to expose the jawbone. A precise hole is then drilled into the bone, and a titanium implant post is carefully inserted.
- Immediate Care: After the implant is placed, the gum tissue is sutured back, and you’ll be provided with instructions on managing any discomfort and caring for the surgical site.
4. Osseointegration and Healing
- Bone Integration: Over the next few months, a natural process called osseointegration occurs. This is when your jawbone gradually fuses with the titanium implant, securely anchoring it in place.
- Healing Period: This stage is critical for the long-term success of your implant. Regular follow-up appointments ensure that the implant is integrating well with your bone.
5. Abutment Placement
- Connecting the Implant: Once osseointegration is complete, a small connector called an abutment is attached to the implant. This piece serves as the foundation for your new tooth.
- Gum Shaping: In some cases, minor adjustments may be needed to the gum tissue to ensure the abutment fits comfortably and looks natural.
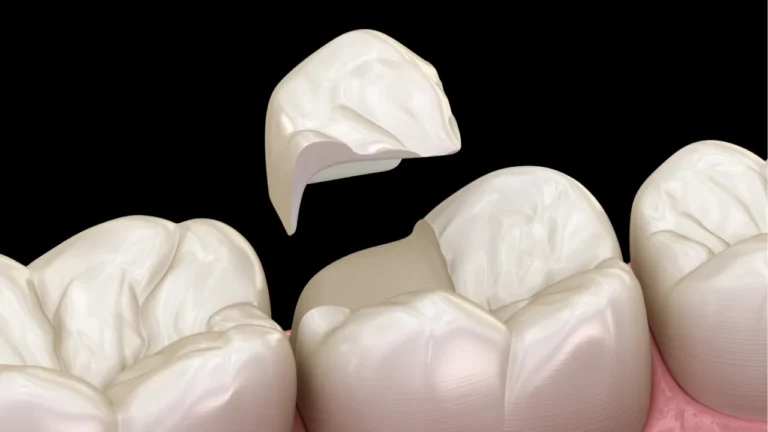
6. Final Restoration
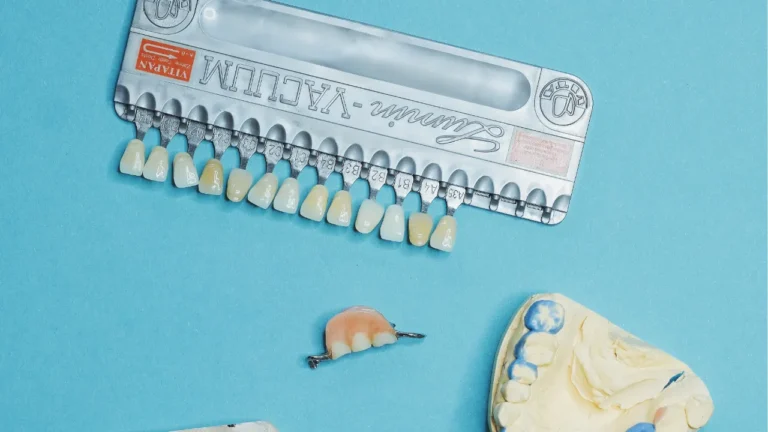
- Custom Crown Fabrication: A custom-made crown, designed to match the shape, size, and color of your natural teeth, is created. This crown is the visible part of your implant and completes the restoration process.
- Crown Attachment: The final step involves securely attaching the crown to the abutment, resulting in a seamless, natural-looking replacement tooth.
7. Post-Operative Care and Maintenance
- Follow-Up Appointments: Regular check-ups are essential to monitor the health of your implant and surrounding tissue.
- Oral Hygiene: Maintaining a rigorous oral hygiene routine—including brushing, flossing, and possibly using specialized cleaning tools—ensures the longevity of your implant.
- Lifestyle Considerations: Avoid smoking and follow any dietary recommendations provided by your dentist to support optimal healing.
Final Thoughts
The dental implant process is a carefully planned journey that transforms your smile from missing to magnificent.
With each step—from the initial consultation to the final placement of your custom crown—Every Smile Dentistry is committed to providing you with personalized care and expert guidance.
If you’re considering dental implants or want to learn more about how they can benefit you, contact us today to schedule your consultation and begin your journey to a healthier, complete smile.